- October 09, 2026
Small asphalt driveway damage may seem minor, but ignoring it gets expensive. Water fills small cracks and damages the base. The surface weakens and the pavement breaks down faster. Over time, this hidden damage becomes major repairs and full reconstruction.
Patching and prevention do different jobs. Patching fixes visible damage. Prevention stops moisture, movement and aging from causing new failures. Choosing the right approach extends pavement life and delays full replacement.
Types of Asphalt Damages to be Patched
Identifying the damage first shows whether patching will work or whether the problem needs more than a surface fix. The Sealer will not repair structural problems.
| Damage Type | What It Looks Like | Correct Response |
|---|---|---|
| Hairline cracks | Under about 1/4 inch | Clean, dry and fill with crack filler |
| Working cracks | 1/4 inch or wider, opening and closing with temperature | Use flexible rubberized crack filler |
| Alligator cracking | Interconnected cracks like an alligator's back | Patch or rebuild the area |
| Potholes | Missing asphalt with broken edges | Remove debris, square the edges, fill in layers and compact |
| Ponding areas | Water stands after rain | Fix drainage and base issues first |
Surface Cracks (Hairline and Moderate Cracks)
Patching suits isolated or moderate cracks when the base is stable. Widespread cracking is better handled with crack sealing, which protects the surface and blocks moisture. Choosing the right method stops cracks from spreading.
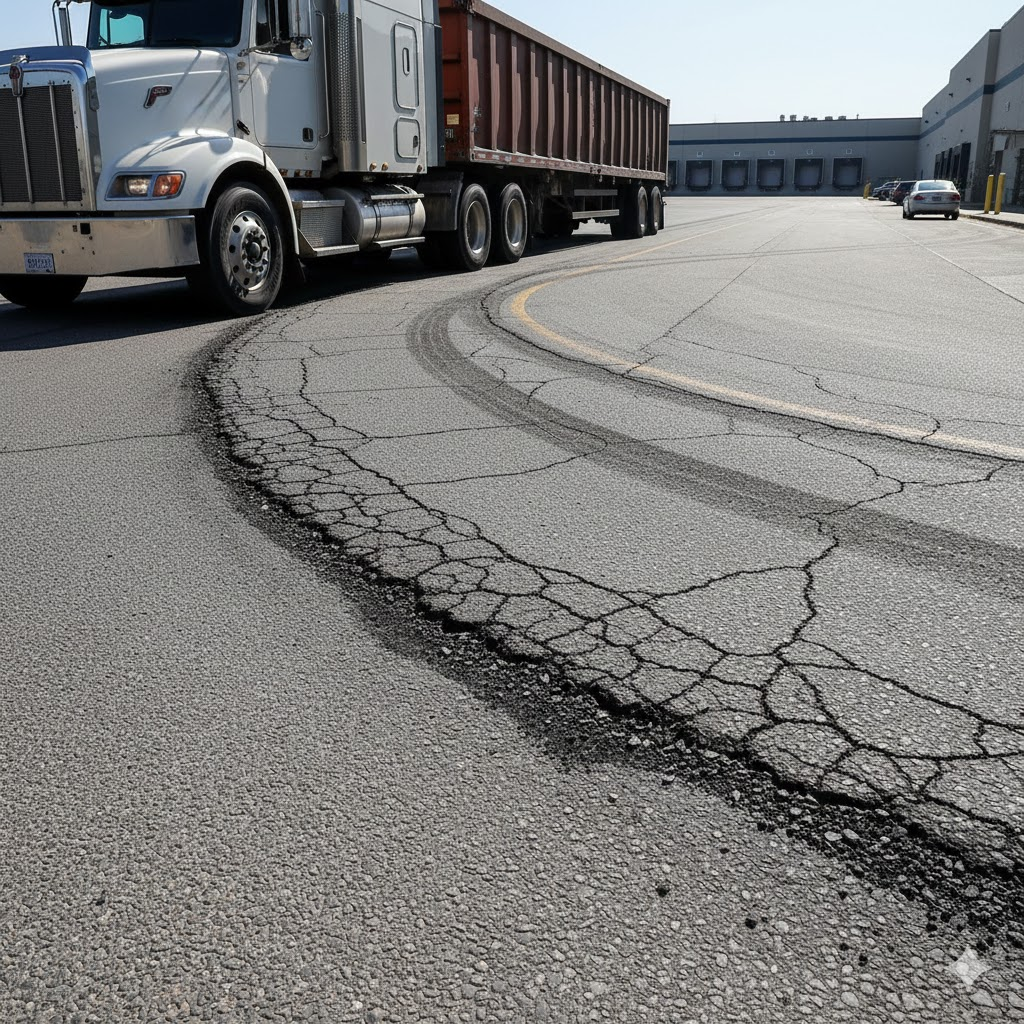
Potholes and Depressions
Early patching prevents potholes from growing and the pavement around them from failing. A quick repair restores the surface and limits water reaching the subbase. Larger areas usually need patches or partial reconstruction.
Minor Raveling and Edge Cracking
Small edge damage can be fixed, but lasting results depend on correcting drainage and support problems. Those hidden factors cause patched edges to fail early. For help with the right structure, see our guide on Residential Asphalt Driveway Thickness to learn the right depth for you.
Why Do Asphalt Driveways Crack and Fail?
Knowing why asphalt cracks helps you avoid repeating the damage after repair. Most failures come from a mix of environmental and structural stress rather than a single cause.
Water and Drainage
Water infiltration and poor drainage are the most common causes of failure. Moisture weakens the base, lowers load support and speeds up cracking from below. Surface repairs stay temporary without good drainage.
Weather and Aging
Freeze thaw cycles widen cracks as trapped water expands. Sun and heat oxidize the asphalt binder, which leaves the surface brittle. Older pavement loses flexibility and cracks more easily.
Soil, Loads and Neglect
Expansive clay soil swells and shrinks with moisture. A poor grade or weak base can push cracks and edge failures up through the asphalt. Heavy vehicles add stress, and missing maintenance lets cracks reopen. Patching cannot last unless these root causes are addressed.
Equipment Required to Patch Asphalt
The right tools support clean preparation, proper placement and strong compaction. Good preparation saves time and limits rework.
Essential Tools
-
Stiff broom, leaf blower or shop vacuum and a wire brush
-
Screwdriver, crack routing tool or flat chisel to loosen debris
-
Tamper, hand compactor or plate compactor
-
Squeegee or brush for sealer
-
Gloves, eye protection and old shoes
Clean edges help the patch bond to existing pavement. Dust and fine particles weaken adhesion, so a clean repair area is one of the most overlooked steps. Compaction removes air pockets that cause sinking and cracking later.
Recommended Materials
Cold patch asphalt is the best choice for DIY driveway repair. It needs no heating and works for small potholes and surface damage. For cracks, rubberized asphalt crack filler adjusts to temperature changes and resists reopening.
Deeper holes need a compacted gravel base for support. Without it, the repair sinks under vehicle weight. Use an asphalt primer or tack coat if the patch product calls for it. A driveway sealer applied afterward adds protection against water, UV exposure and oxidation.
Step by Step Process of Patching
Patching works best as a set sequence. Cleaning, filling, compacting and curing each prevent early breakdown. Rushing or skipping preparation can cause repairs to fail within months.
Step 1: Clean and Prepare the Damaged Area
Choose a dry stretch with no rain expected for at least 24 hours. Remove loose asphalt, weeds, gravel and dirt. Let the area dry fully, because trapped moisture weakens the bond.
Then blow or sweep away fine dust. Clean edges let patch material grip the surface and hold up under traffic and weather.
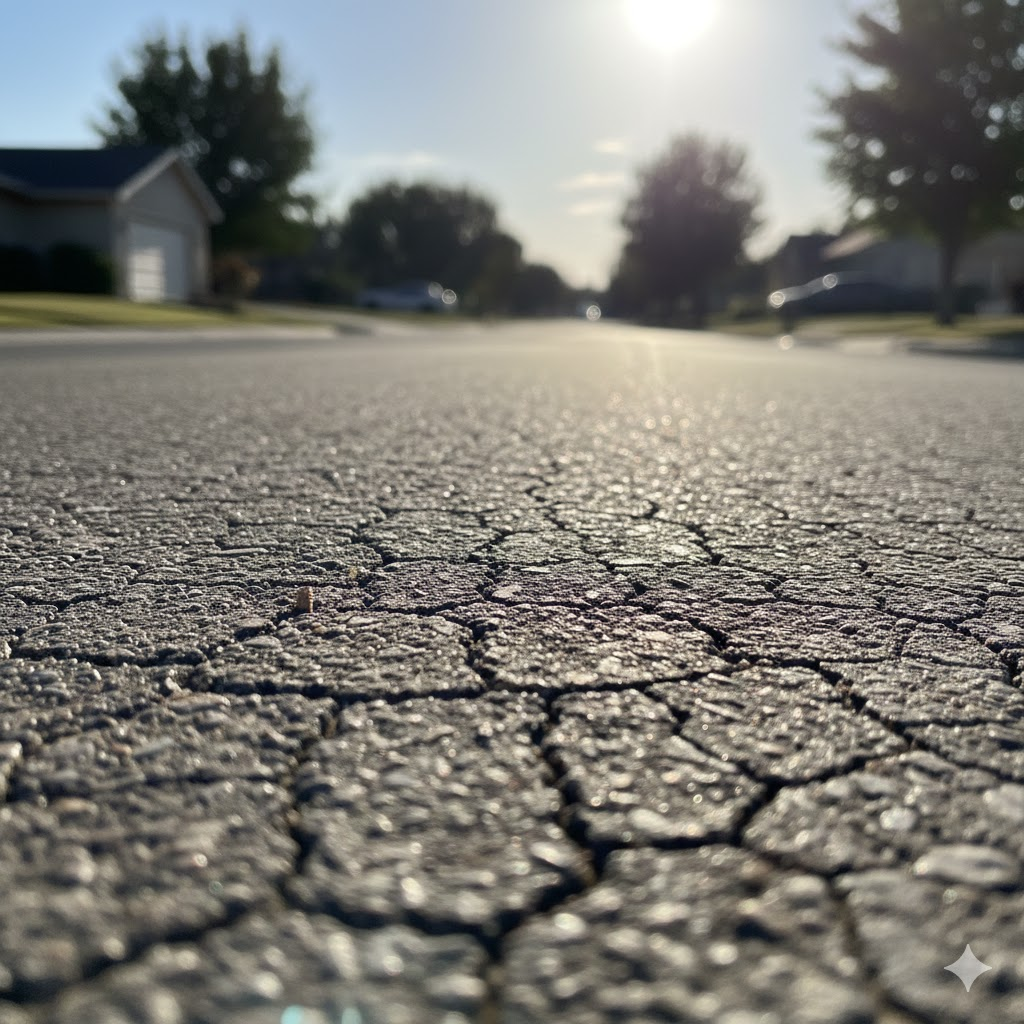
Step 2: Fix Cracks Properly
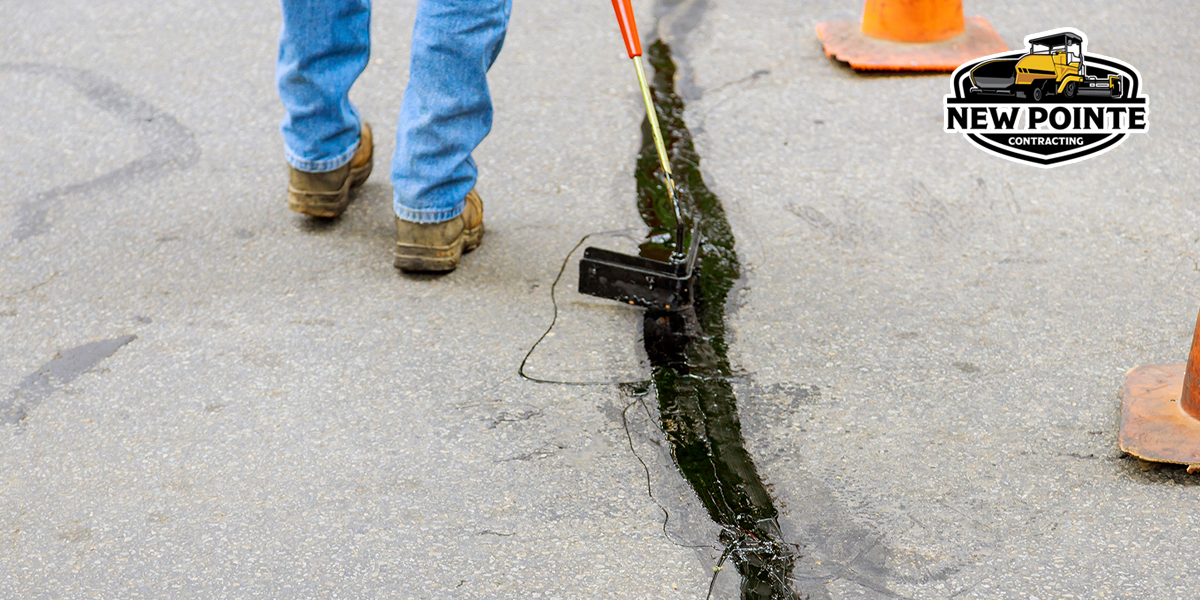
Fill hairline cracks with crack filler as the label directs. Overfill slightly, since many products shrink while curing. For cracks 1/4 inch or wider, use flexible rubberized sealant. Smooth the surface flush with the pavement or slightly below so tires do not pick it up.
Common Crack Repair Mistakes
-
Applying filler to wet pavement
-
Skipping the cleaning of old filler and debris
-
Ignoring crack depth
Step 3: Patch Potholes and Holes
Remove water, mud and broken asphalt. Cut or chip back to sound asphalt so the patch has stable, vertical sides. If the hole is deep, muddy or keeps returning, add compacted gravel first.
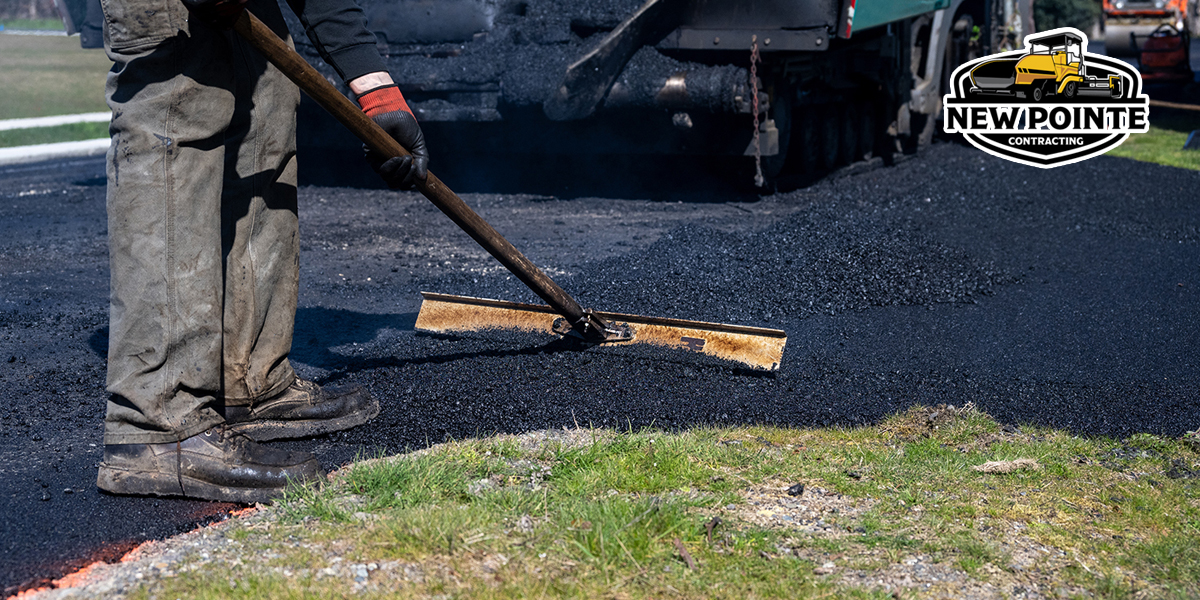
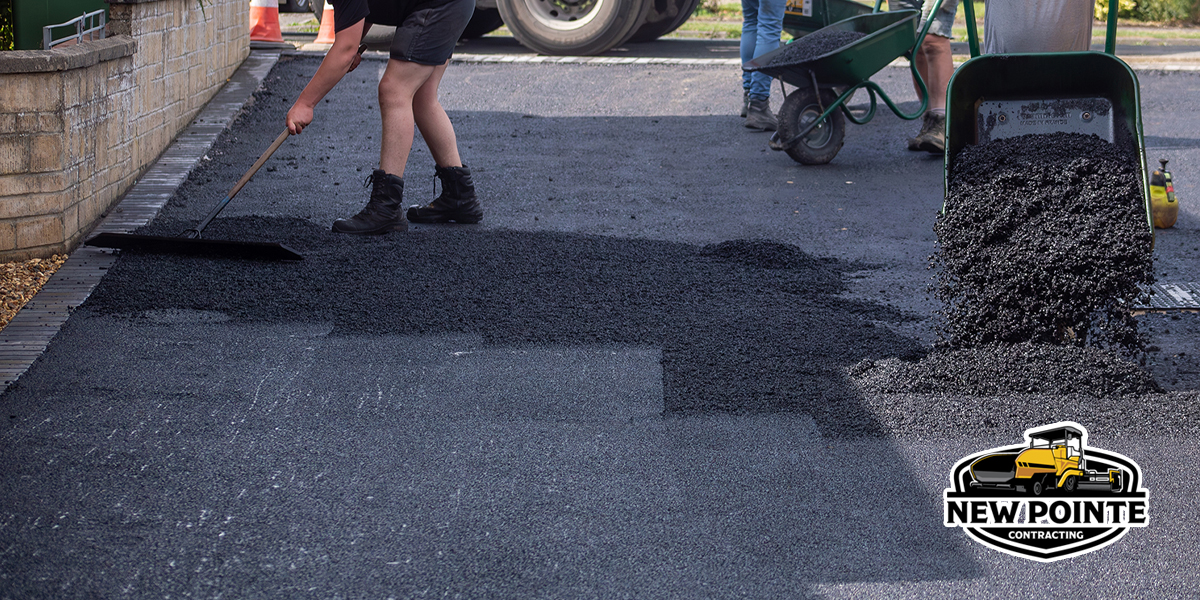
Place cold patch in layers and compact each one before adding the next. Start at the center and work outward. Leave the finished patch flush or very slightly crowned so water sheds off.
Step 4: Curing Time and Traffic Restrictions
Most cold patch repairs need at least 24 hours before light traffic returns. Keep heavier vehicles off for several days. Cold weather slows curing and warm weather speeds it up. Follow the manufacturer’s instructions. Driving or parking on a patch too soon can dislodge the material.
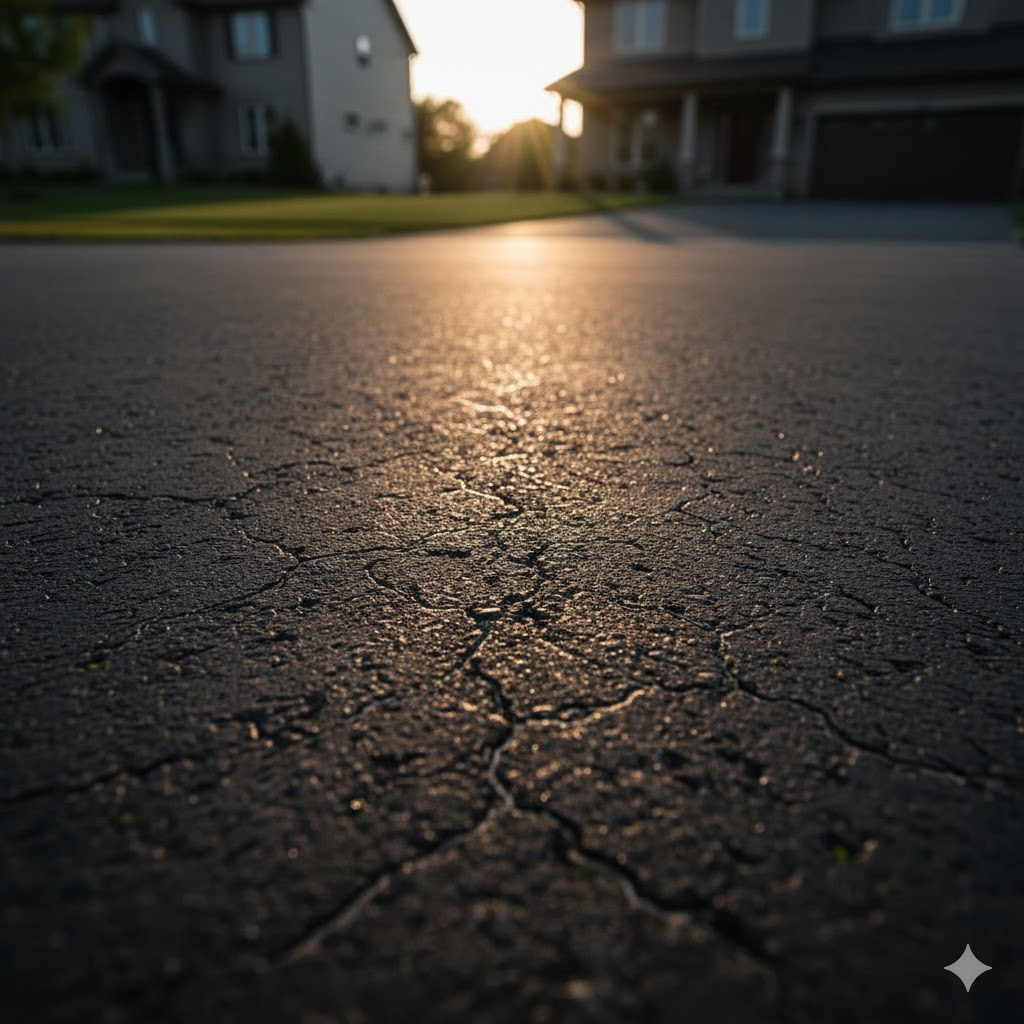
Preventive asphalt maintenance extends the life of repairs. Patched driveways crack again without protection. Simple habits reduce water damage, load stress and temperature wear.
Long Term Protection with Sealcoating
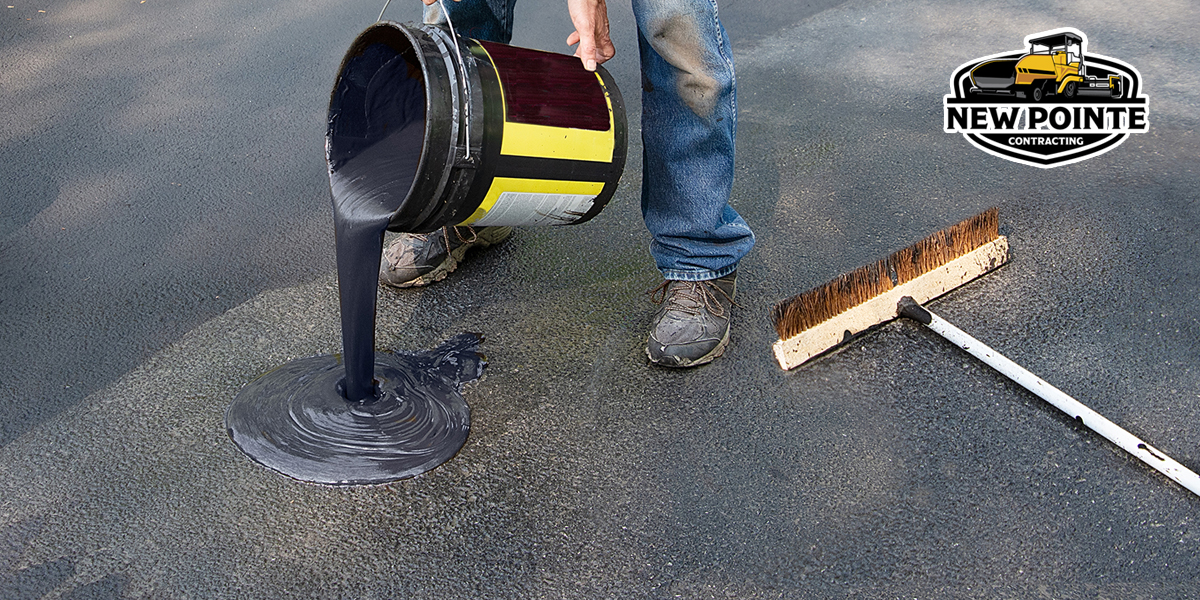
Sealcoating adds a layer that protects against moisture, UV rays and oxidation. Reseal every 2 to 3 years, depending on climate and traffic. A gray, rough or cracked surface signals that it is time. Apply sealer only after repairs have cured and only when conditions match the product label, generally at least 50°F and rising with no rain for 24 hours.
Patch Your Asphalt Driveway for Maximum Protection
Never sealcoat over potholes, soft spots or alligator cracking. Sealer hides these problems briefly but does not restore the base.
Water Control and Drainage
Water should run off the driveway and not pond in low spots or along the edges. Move downspouts away from the pavement to reduce saturation under the surface. Check slopes and nearby areas often so water does not collect on repairs.
Load and Usage Best Practices
-
Avoid parking heavy vehicles in the same spot, especially on new patches
-
Keep vehicles off the driveway edges
-
Limit heavy loads during extreme heat when asphalt is softer
-
Clean oil and fuel spills quickly, since petroleum softens asphalt
-
Keep sprinklers and weeds away from the edges
Inspect the driveway twice a year and note new cracks, low spots and edge damage.
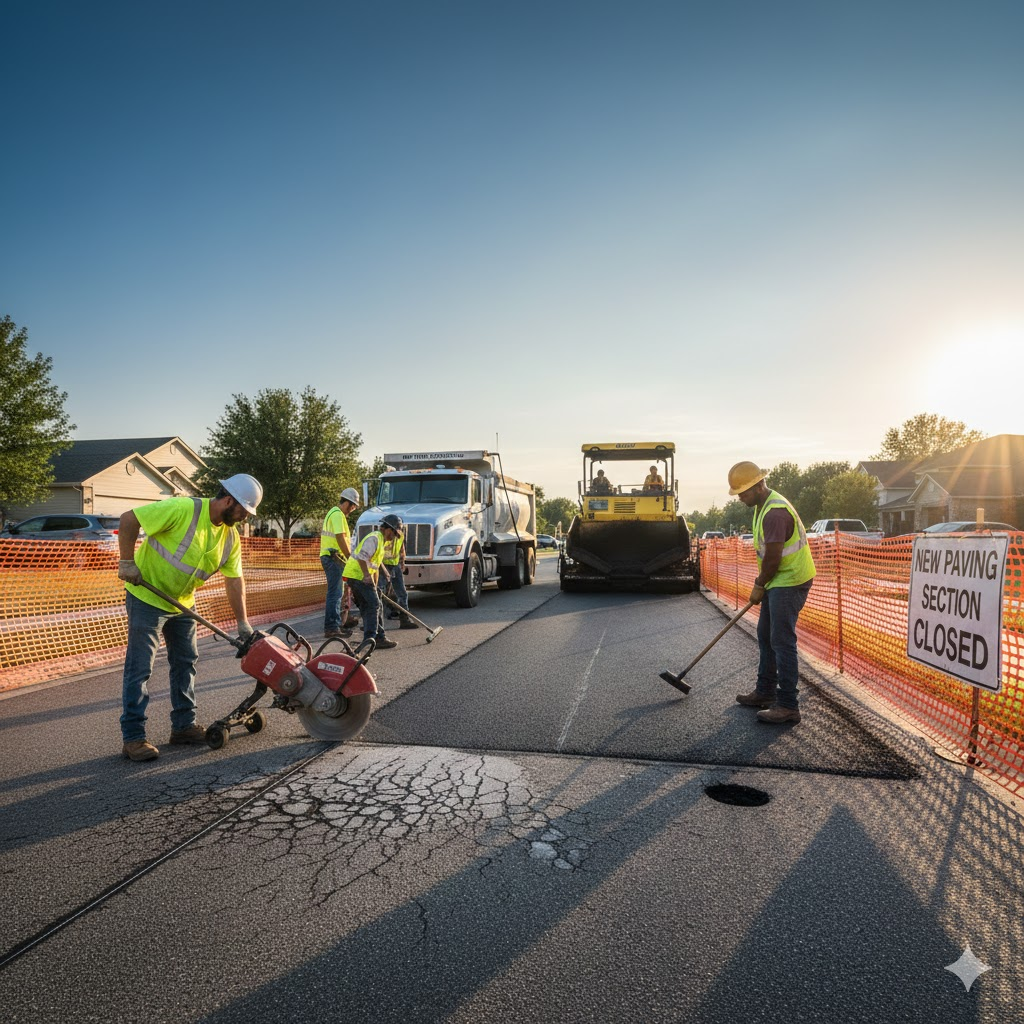
DIY Asphalt Patching vs. Professional Asphalt Patching
Homeowners often ask whether to patch alone or hire a professional. The answer depends on the extent of damage, long term performance and cost.
| Situation | Best Option |
|---|---|
| Minor cracks and a few small potholes | DIY patching |
| Sound base and working drainage | DIY patching |
| Repeated repairs in the same spot | Professional help |
| Widespread alligator cracking or settlement | Professional help |
If more than about 25 to 30 percent of the driveway shows structural failure, replacement is often the more durable choice. Repeated repairs in one area point to base or drainage problems that DIY methods rarely solve. When hiring, ask for written estimates with the same scope, proof of insurance and warranty terms.
Conclusions
Early repair and regular preventive maintenance keep an asphalt driveway protected. Small cracks may look harmless, but neglect leads to expensive structural damage. Prompt patching improves durability and safety and keeps your curb appeal strong year round.
Check your driveway regularly. Fix minor problems before they grow. Schedule maintenance early, before serious repairs become necessary. Book an inspection today with New Pointe Contracting. Get your free quote by calling. Get your free quote by calling at 404-414-719.